Friday, July 31, 2020

 The new Omix-Ada dash pad was mounted. This is a duplicate of the original with Jeep logo. Nice quality. It has the relief pocket for the inside mounted wiper motor along with cut out for the VIN plate that is mounted behind the wiper motor. Our YJ windshield frame had a VIN plate but is shaped differently than the later CJ plate therefore not matching the dash cut out. One had to be fabricated to mount behind the YJ wiper motor but conform to the CJ cut out shape. Two patterns were used, one for the mounting behind the wiper motor and another for the dash cut out. The one was mounted behind the wiper motor then the windshield frame was brought up and fastened into position with the dash hold
down  bolts. Then the other was held into position in the cut out and marked against the first one. Everything was then disassembled, the two patterns taped together and reinstalled for final trimming, disassembled again then the cardboard pattern was transferred to sheet metal, bent to the proper angle and drilled then remounted. The final angle was tweaked then once again removed. After a coat of black paint cured the face was covered with a black piece of Naugahyde. We experimented with black vinyl door edge guard but just couldn't get the tight radius required. In the end we sliced a small length of vacuum hose down the middle and slipped it over the edge.


Got the windshield frame back from the body shop and as usual they did a superb job. After giving the paint time to cure it was sent off for glass. Now when it comes to glass I trust one shop only. And that is H & M Ebling I have been dealing with this 2 generation shop since 1974 for home and auto and have never been disappointed. Just once a body shop talked me into using a chain company for a windshield replacement and I had to use towels on the dash to collect the rain water, never again. Ebling installed a new glass with a smoked tint band at the top with new gaskets and even applied a rear view mirror mount and never even scratched the new paint. Using a YJ frame while retaining CJ
ductwork and wiper motor resulted in a few modifications. The YJ uses ductwork that is routed through the dash while a CJ is routed through the windshield frame, therefore openings had to be cut at the bottom of the frame and slots at the top for the defroster vents. The reason a CJ wiper motor was used rather than the YJ was the YJ has additional wiring that is routed through the steering column mounted controls where as   the CJ is dash mounted. The YJ linkage was retained therefor the mounting tab on the CJ motor had to be replaced with the one from the YJ. Before removing a 12 volt source was applied to the connector making sure both motors where in the park position. The location was marked and a small gear puller was used to remove the tabs and switched the YJ to the CJ motor. Linkage was then fed in through the windshield frame and the motor mounted. The plastic nuts for the wiper posts were coated with Right Stuff to hopefully prevent water leakage. I say hopefully because I have yet to see a frame that doesn't eventually rust out, ours was no exception. The bodyshop took care of some minor rust issues. The linkage access holes needed to be covered and sealed since the defrosters now were routed through the frame. A cardboard pattern was made then transferred to sheet vinyl then covered with Naugahyde, the same that was used on the console.


Sunday, July 05, 2020

A carpet set was ordered from Auto Custom Carpets that included both front and rear floors along with rear wheel wells and side wall/kick panel pieces. Not taking into consideration that a fiberglass tub is dimensionally different than a steel one, we encountered a problem with the bound width of the carpet. 2nd and third photo shows excess. Shell Valleys bodies are double wall construction making them narrower inside. After laying down some Cool It Thermal Barrier (first photo) the carpet was centered, fastened down the shifter mount to hold it in place, then worked towards the sides by mounting the seat mounts. That way we could get an accurate idea of how much had to be
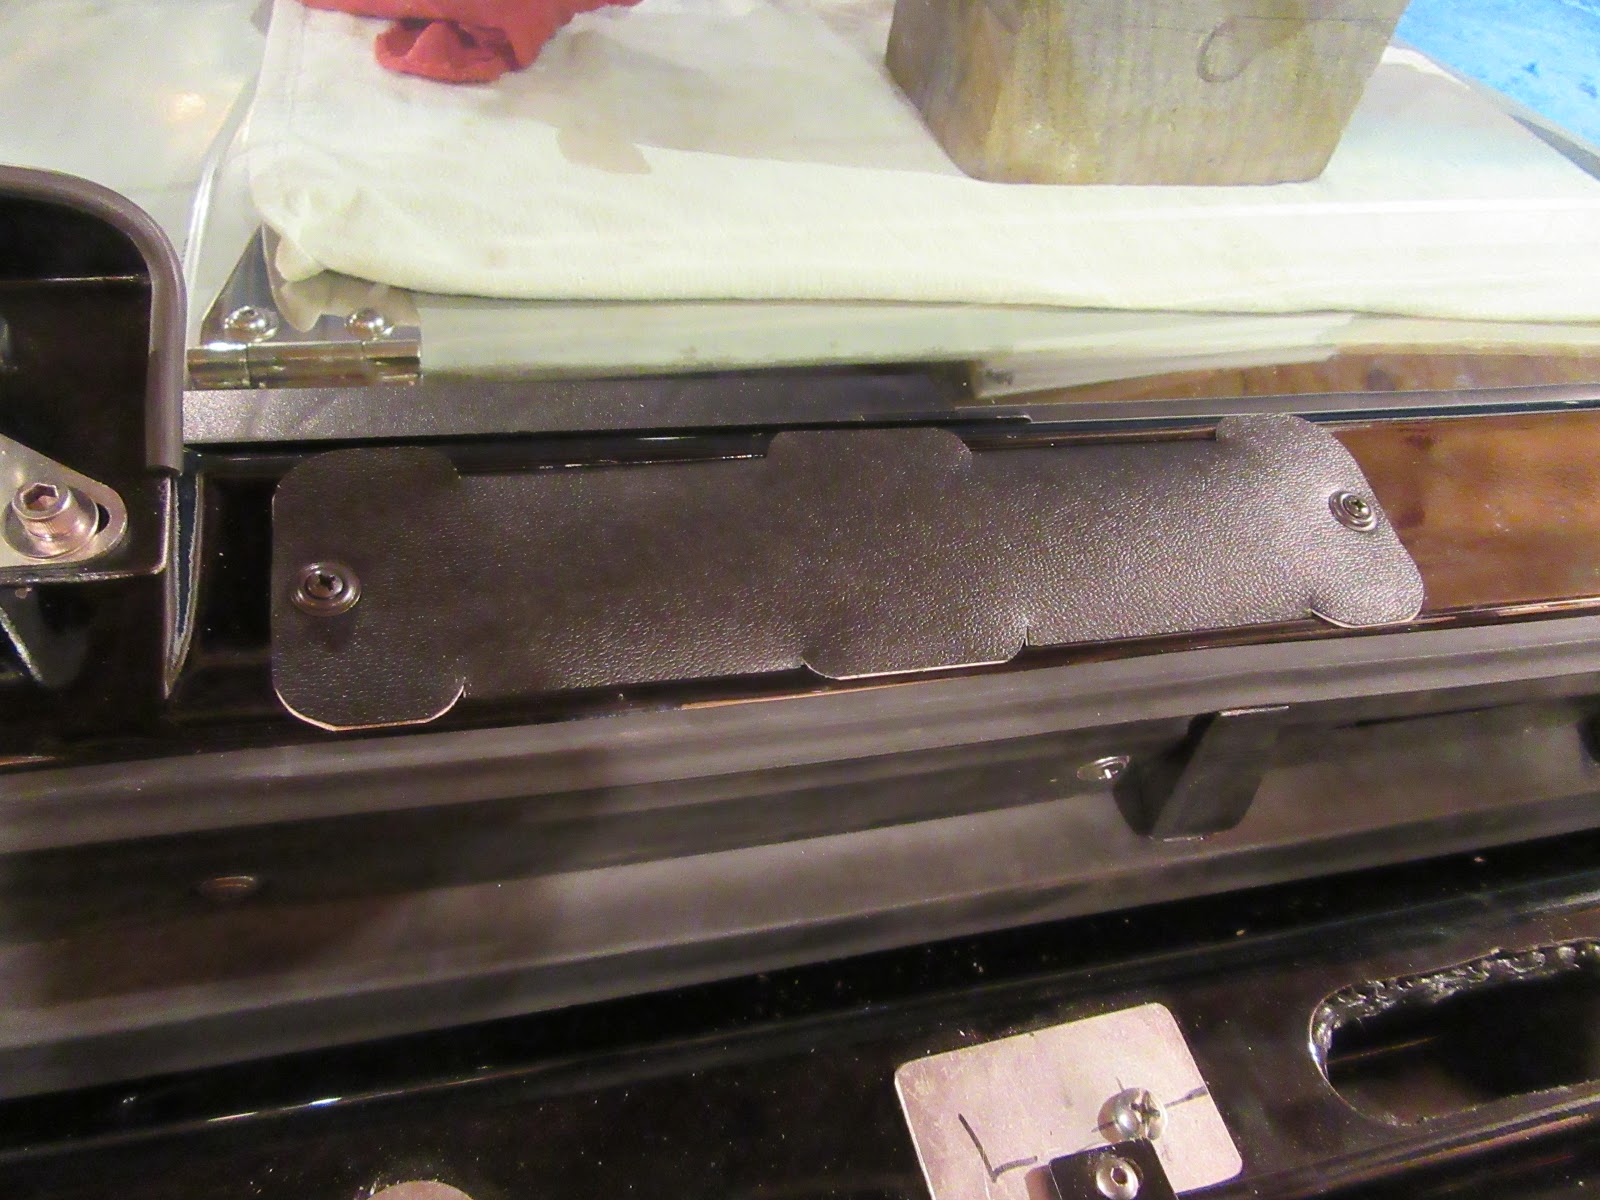
trimmed off. All hole locations were cut in at this time also. Same method was used for the rear wheel wells. All edges were marked with a fabric crayon then removed and trimmed then given to Rays Upholstery to rebind. Upon return the main carpet again was reinstalled using the previously cut holes to align. Shifter and seat mounts were installed then wiring (last photo) for the heated seats were routed and access slot cut in the carpet below seats leaving enough slack to allow the seats to tilt forward. E-Brake cables were also fastened. The main carpet was not glued in place for ease of removal to access wiring if needed, but will use Velcro strips along the perimeter. Unlike the front carpet the rear wheel wells were
glued in place using  3M Super 77 Multipurpose Adhesive This stuff if used correctly really sticks. Center rear cargo area carpet will be Velcro-ed. Unfortunately the side pieces that came with the carpet kit could not be used, again because of the fiberglass body's double wall construction. Shapes were not the same as with a steel body. Although it is possible to buy the front passenger floor and rear cargo floor area together, the only way to get the rear wheel well covers is to also get the sidewall/kick panel pieces. It would be nice to do so to save a bit. The side wall/kick panel areas are not a big deal to us due to the quality of the paint work Garys Auto Body applied. The inside is as nice as the outside, plus with the double wall construction acting as a sound barrier, the carpet is not needed. All in all we were happy with the results and quality of the carpet.