Thursday, July 06, 2006


In this view you can see the difference that the shackle reversal made in moving the front axle ahead, centers the wheel a little better in the opening. Can't wait to get those 31's mounted on those factory chrome wagon wheels. Had to cut out for the taller wide track shock mounts, a saber saw made quick work of this. Start out by cutting only a little at a time. It's easier to remove than to add. We will probably add a rubber shield to cover the outside of the shock and mount to help cut down dirt from entering into the engine bay.


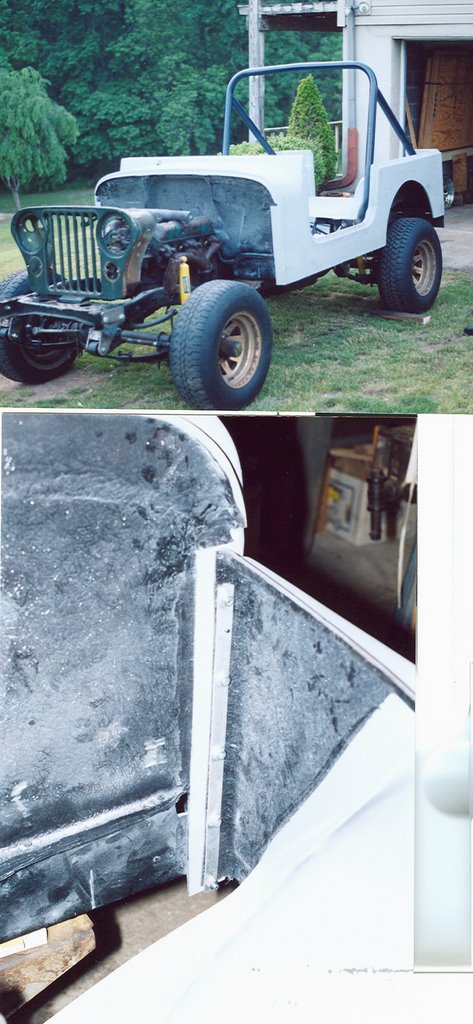
Lost no time in placing the body on the frame, (just had to see how it looked). Even the rollbar fits well. I had gotten an installation video from 4 wheel drive hardware http://www.catalogs.com/search_3.asp?id=959&depid=33 to get a little educated, and picked up a few things from it. The way they start out, they place four 2" spacers at the middle mounts and measure the remaining mounts, then mount the hood, then the fenders and grille and whatever length mount the grille takes that's what is is. My problem with this method is that it wont always cosmetically look ok. 
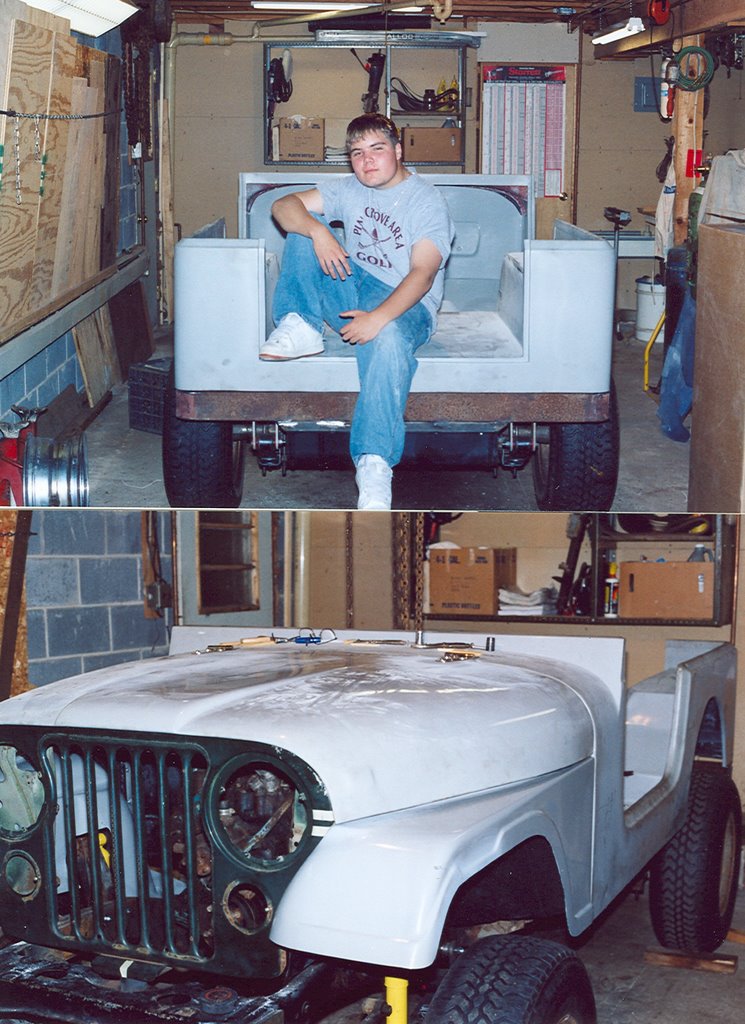
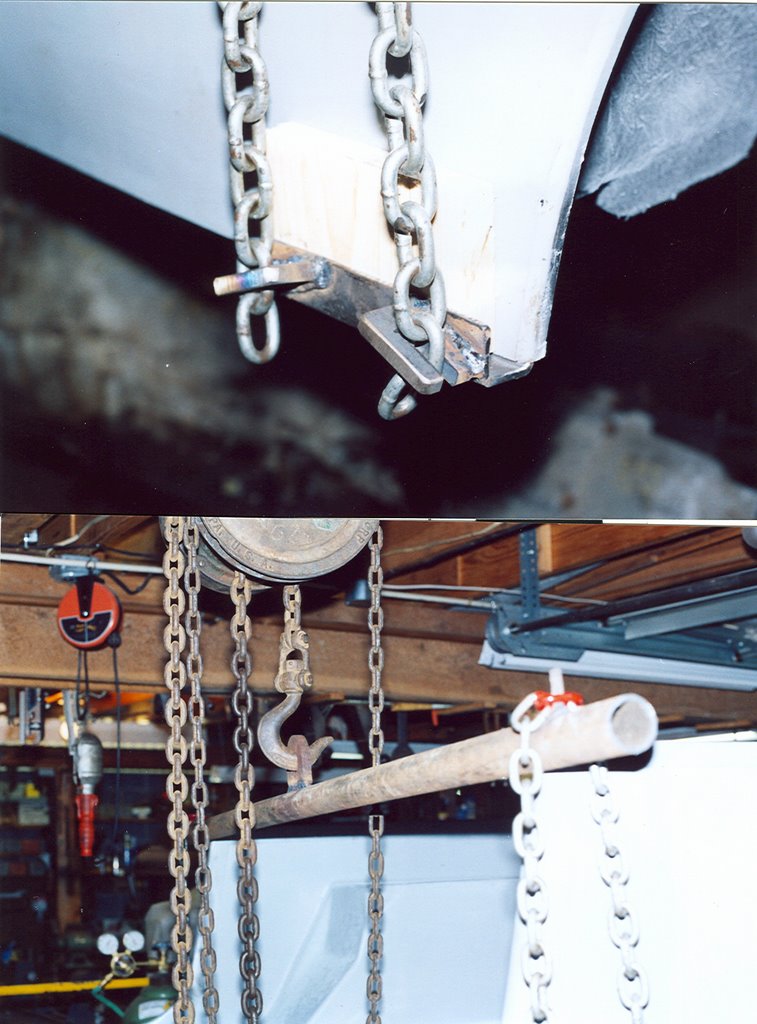
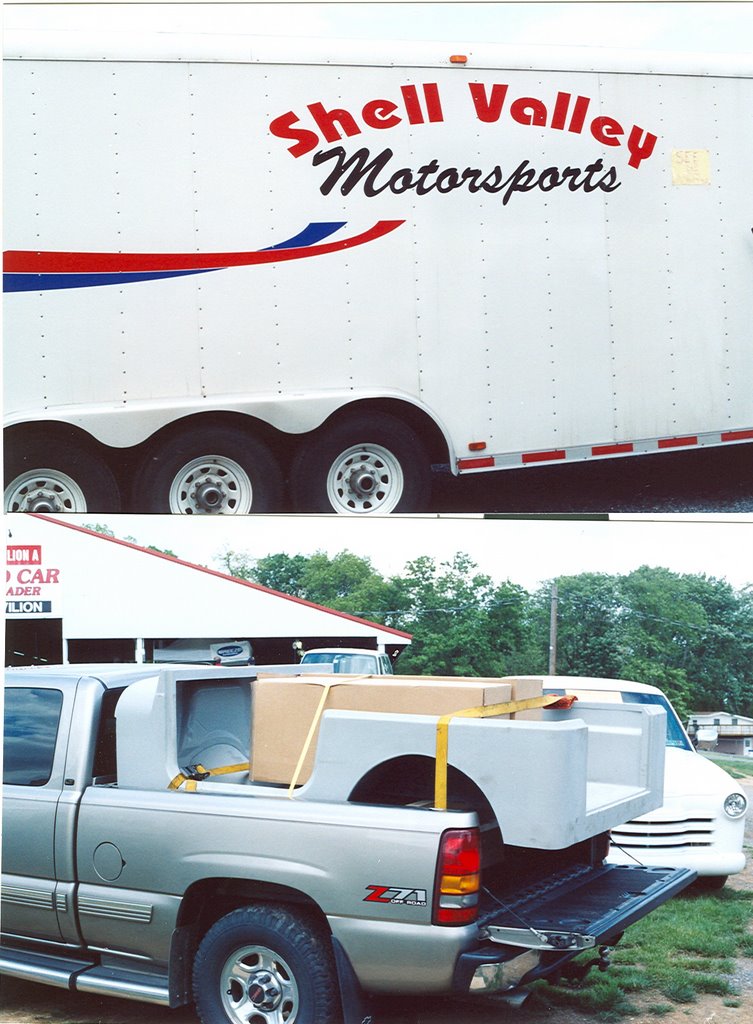
I wound up with way too much of a gap at the rear crossmember and next to none at the grille. Trying to correct this we kept adjusting the mount lengths in the middle which kept rocking the gaps back and forth. I finally got tired of doing this so instead I started with the rear crossmember, Got a nice 1/2" gap then put two 1" mounts up front as a starting point. I checked for clearance in the middle which was ok. Then the hood was mounted, the fenders and the grille. The grille mount was adjusted until it was cosmetically correct by lifting the front of the tub which in turn allowed the front body mounts to fall into place. Now that the front and back where correct we made sure everything cleared in the middle, measured the rest of the body mounts and cut them. Now keep in mind we put no body lift on this, if you do, it can still be done using this method with a lot less hassle. Reinforcing strips are used at the mounting points of the body and fenders. This made for a very ridgid setup, you could actually lift at the grille and lift the front of the body if needed. I can remember going to shows and seeing Jeeps with no body lift with a very unsightly gap at the rear crossmember or at the grille. If you start in the back this can be elliminated. Again I can't say enough about this Shell Valley body. Give them a call or check them out on the web. http://www.shellvalley.com/


Just thought I would show you the one man lifting device I made. I took a length of rectangular tubing and sliced it (channel would also work I just didn't have any) then welded on some slotted pieces to hook a length of chain into. A piece of 3/4" thick wood goes between the body and the tubing (now channel) to protect the body. A length of pipe longer than the body is wide was cut with a piece of metal with a hole in to fit my chain hoist was welded in the middle along with 2 bolts (heads down) to keep the length of chain from sliding on each end spaced just a little wider than the body. The center link of each chain was painted red for easy identification of the center link. Just hook the ends onto the bracket and run up over the pipe onto the bolts. The channels can be slid front or back to find the balance point of the body.

Monday, July 03, 2006


Finally, "the body". Bought the tub, fenders and hood from Shell Valley out of Nebraska http://www.shellvalley.com/Replicas_and_Jeeps/Jeep/faq.asp I was a little leary buying sight unseen but they had a good reputation and the guy I dealt with "Dana" seemed pretty knowledgeable and up front. Little did I know but these guys are really into what they do. Shipping would have been $500.00 but I found out that they come into Carlisle for the kit car show with their cobra bodies so I asked if they had room to bring my body along and they obliged and only charged me $300.00 for shipping. Body cost was $2,174.00. Well I must say I was very happy when I saw the quality of the body. Double wall construction. All the other bodies I have seen had one downfall, the upper back corner of the door opening, where the door latch is, flexed and made shutting the door a chore. I can tell you right now, this one don't give at all. The tailgate opening was my other concern, would the stock steel tailgate fit. I positioned ours and had a nice even gap all the way around. I can only hope the steel doors will fit the same. They did bring a fiberglass windshield along at my request to look at. They explained that if you run with a soft top or no top that they have a tendency to flex, but is alright with a hardtop. The quality again was first rate but with the chances of this hardtop coming off I passed in favor of a steel one. I just know it will rust, you just can't seal them totally. Maybe I'll just have to try a little harder to convince Jeffrey to leave the hardtop on. To transport the body I cut some 2 x 6's to fit across the bedliner and ran straps to the hold downs at the front and back near the floor, this way the box for the hood slipped right underneath and the fender boxes I put in the tub. Next post I'll have some installation tips.