Jeffrey's birthday was coming up in April and since we were already in the teardown mode, getting ready for paint, I had to get him something for the Jeep. One of the projects that had to be done yet was to have the center console upholstered. I checked with
Rays Upholstery, In Schuylkill Haven, been doing business with him for years. He's pretty well backed up right now and after showing him what I had in mind which was quite a bit time consuming he offered to discount the materials if I would do it myself. Since the only sewing involved was the shifter boot, I agreed. Took me 3 good weekends to accomplish it, but am happy with the results. Started out with the cup holder and seat switch
areas first, then moved on to the sides by fastening 1/8" x 3/4" steel at the top. That way the material could be fastened behind it, then wrapped over the top and down the sides. The sides were previously covered with 1/4" foam, glued down with
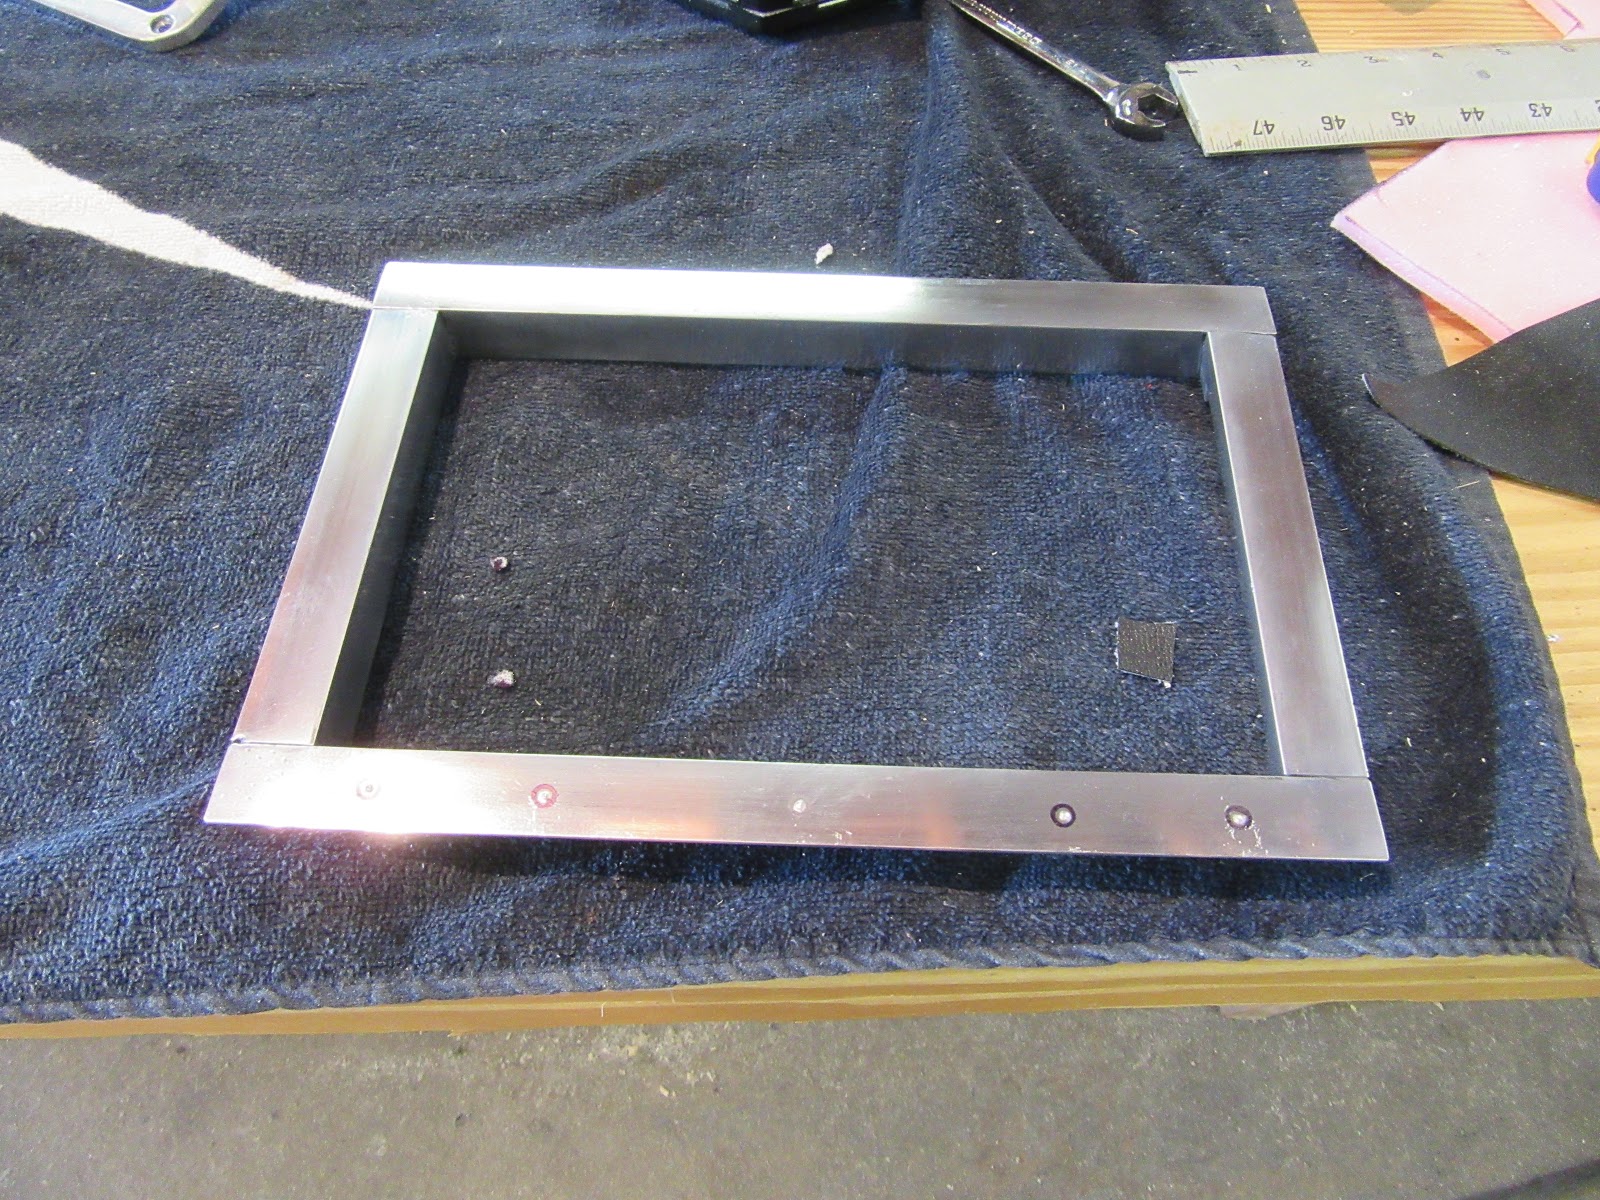
3M super 77 multipurpose adhhesive. This stuff is sticks. At first I tried making the sides and back in one piece, but with the angles it just wouldn't co-operate. Ended up making a seam in the back by routing a 3/4" wide groove then screwing down a painted piece of the 1/8" thick steel. Moving on to the lid area, I took 1/16" x 3/4" aluminum angle and formed a frame to go around the opening and also a way to fasten the top of the material. Since I don't
have the capability to tig weld aluminum I called on Nick Reber, a relative who has his own welding shop to handle that chore. The latch was something I had laying around from when we were fabbing up a tailgate latch. Incorperated it in with the lid and worked out rather well. These latches can be purchased thru
McMaster Carr. The lid hinge was also a throw away stainless piece from work. These come in lengths with no holes. The inside of the console was covered with a grey trunk material. I had a choice of black or grey. I figured for as deep as the storage area was grey would be easier to find stuff than the black. Inside is mounted a usb socket for charging what ever. Also seen are the 3 vacuum

hoses for the quadra-trac switch and the wiring for the heated seats. A removable metal panel was bent up to hide and protect the wiring. This was also covered with the trunk material for a finished look. Two top side pieces that look like hockey sticks were made from oak and joined with a dowel. These go on top of the metal gauge panel to hide the screws and are covered with foam and the black leather. An aluminum trim piece was milled up to secure the back ends of those hockey sticks and also the rear edge of the gauge panel and polished. Another aluminum trim piece was made from the same 1/16" x 3/4" angle to surround the seat and quadra-trac switch panel. Also seen is the aluminum trim piece that

fastens down the shifter boot. The shifter boot was cut from the same material using the pattern that was previously made when we mocked up a test boot. That was then given to Rays Upholstery to sew the splice using white thread to match the seats.. All in all a learning experience on a topic that I had never delved into before. I know have a greater respect for the professional upholsterer and what they charge.