Tuesday, February 16, 2016

We had always planned on frenching in the headlights because even though we liked the classic CJ look, the lights stuck out too far giving it a bug eyed look. Ever since we saw an M38A1 grille with the sunken lights we figured on trying to expand on it. We knew we would need some form of trim ring especially since we were going with the Laredo chrome grille overlay. I was trailing my wife through a kitchen supply store one day and came across these stainless steel 9" cake pans. Just so happens a stock CJ trim ring fits perfectly inside the cake pan. The clearance from the back of the grille to the
front of the radiator was the deciding factor on how deep we could go. Started by duplicating and cutting the shape in the bottom of the pan. The mounting flange in the grille was then cut out along with the flange in the chrome overlay. The overlay flange was then welded into an M38A1 bucket that was sectioned down to 1" depth. This bucket was then welded to the back of the grille in place of where the flange was removed. This has to be indexed perfectly so that the bulb is in a vertical position. The chrome overlay is put in place followed by the cake pan trim ring then finally the the
bucket assembly that holds the bulb then screwed through into the welded shortened M38A1 flange. Only then can the stock trim ring be fastened. This gives us enough clearance attaching the plug to the back of the halogen lights. These light by the way are Rampage #5089925 using H4 bulbs. http://www.rampageproducts.com/Catalog/Page33.html 


Ok,so here is how we 
frenched the turn signals. The clearance from the back of the grille to the front of the radiator again was the deciding factor on how deep we could go. We ended up buying clear JK turn signals and along with a 5" dia. x 1 1/4" deep pie pan from the local Kitchen Supply store used as a combination trim ring and mounting pod, the bottom of the pan was cut out with a 3 1/8" hole saw in a drill press. Then 3 slots were cut in using a cut off wheel to coincide with the 3 molded in ribs on the JK housing. The 2 plastic mounting tabs were cut off the back of the JK housing and 2 holes drilled for #8 screws that


were installed from inside the housing by removing the bulb socket and secured with nuts on the outside. On the grille the original holes were cut open with a 4" hole saw by attaching a steel plate from the backside and a 1/4" center hole to guide the hole saw pilot drill. A bracket was bent up to attach the whole assembly, the same as what is commonly used for mounting many instrument gauges. But these brackets were welded to the back of the grille. The assembly can be slid through from the front with the #8 screws through the bracket and fastened with 2 nuts. So far I have not been able to find

stainless steel 5" pie pans, if I don't then these will have to be chrome plated. I can only say my wife keeps wondering my interest in kitchen supply stores. Good to keep them guessing.


Saturday, February 06, 2016


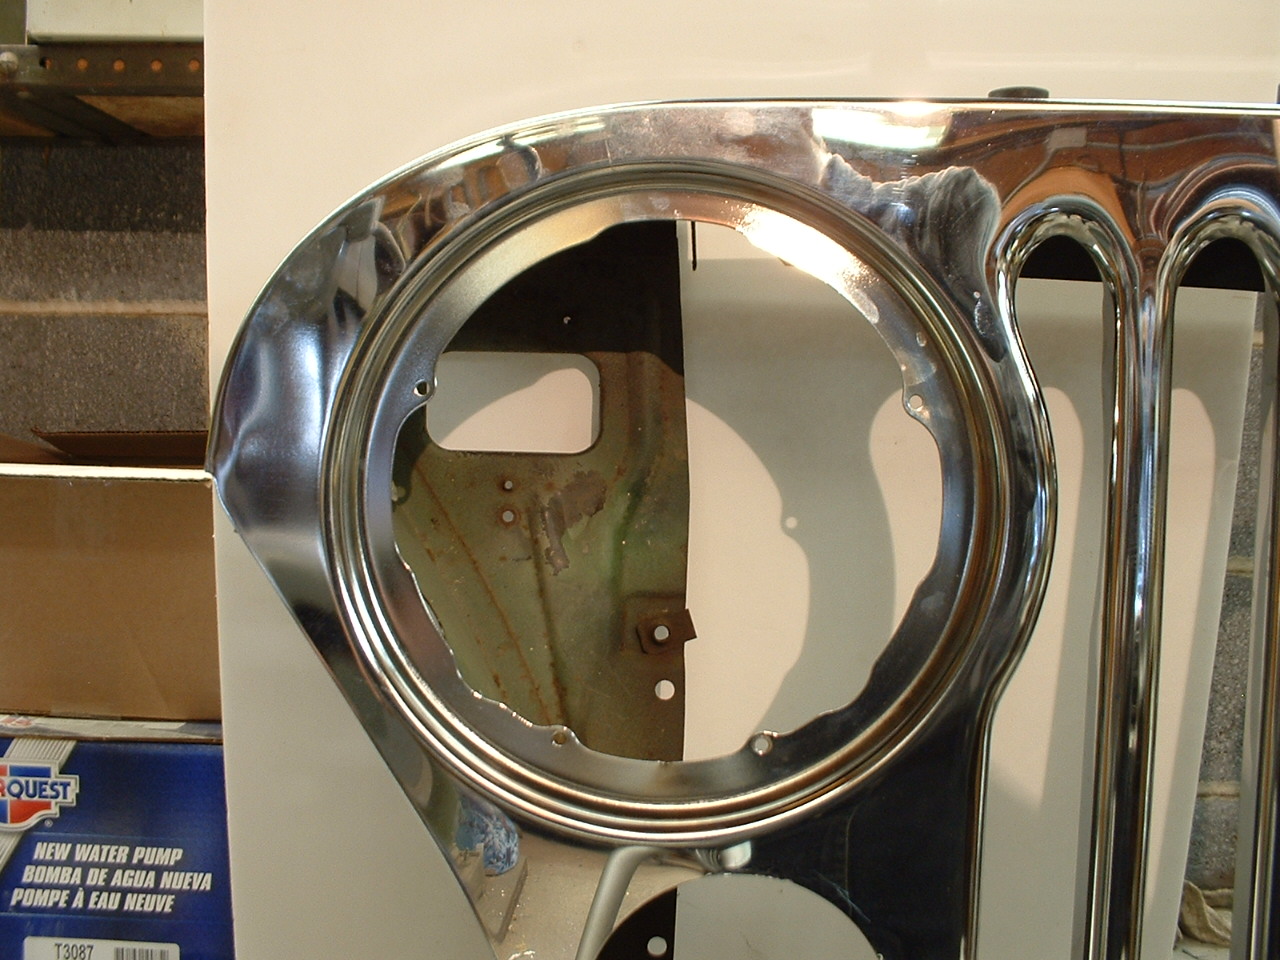
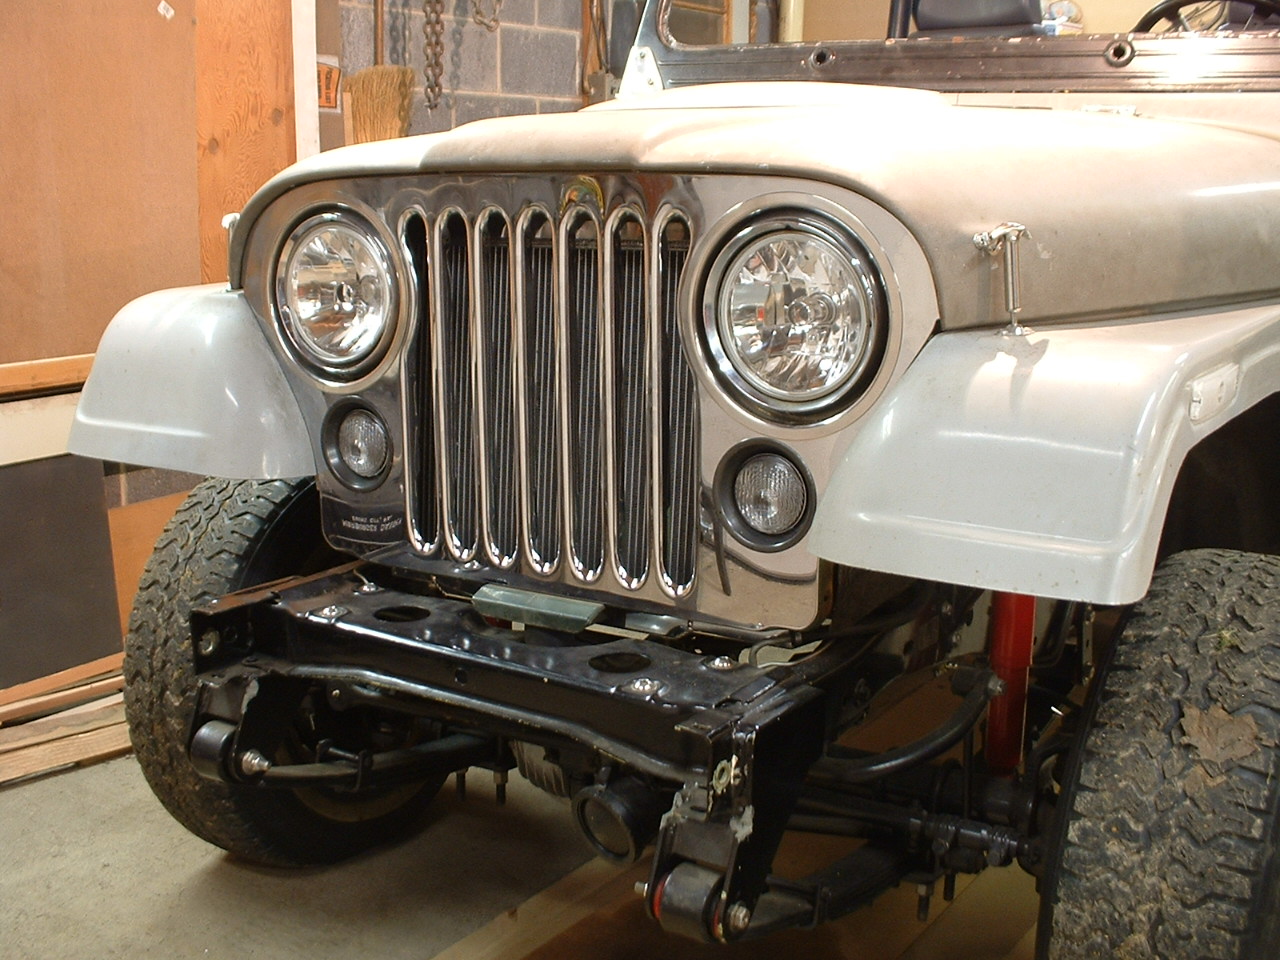
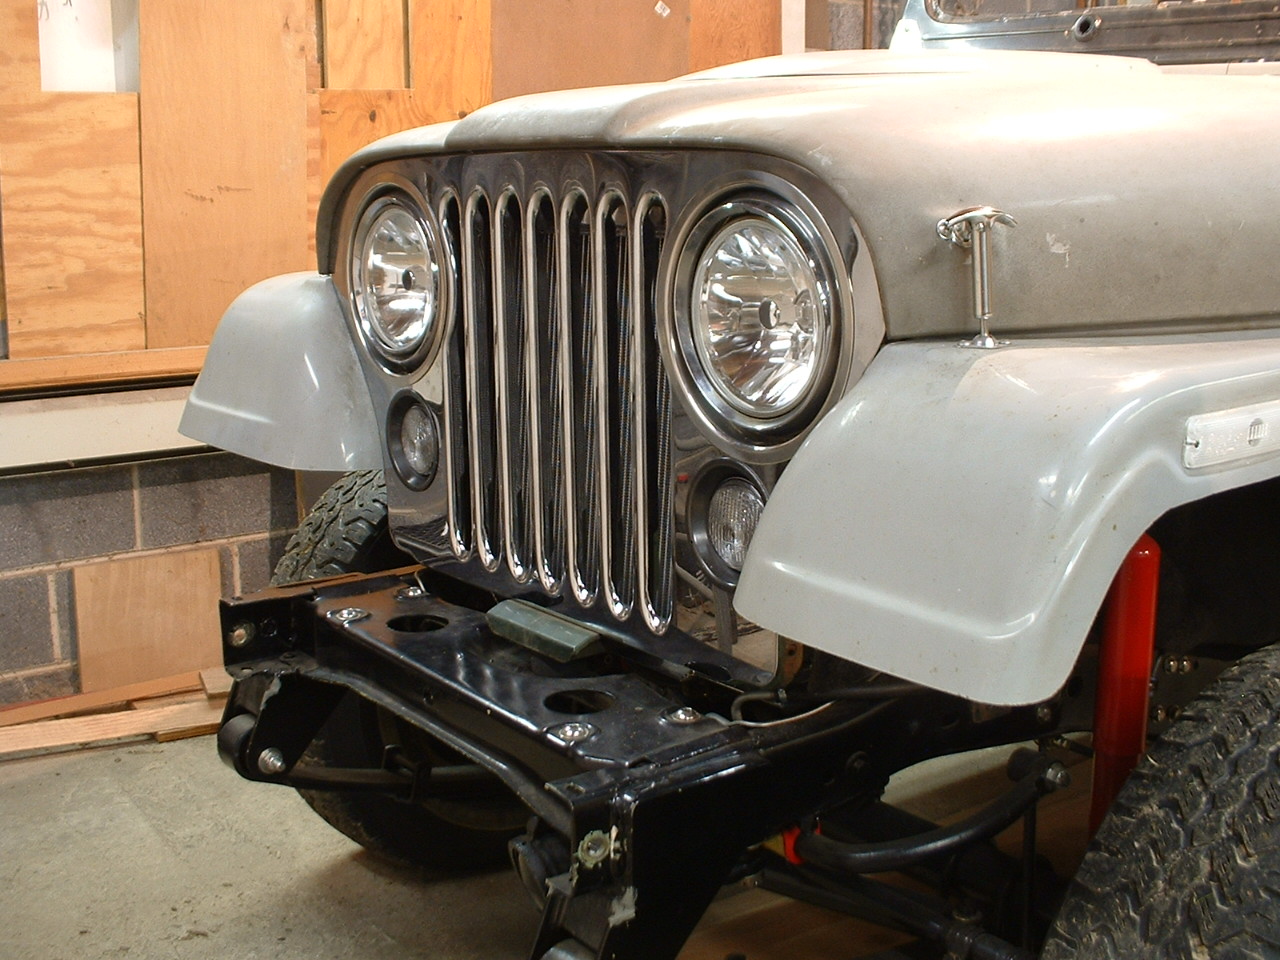
Turned our attention to the hood latch. The two side latches were installed but a secondary latch is advisable, one for safety and another probably for inspection. I did not check with the DMV on whether or not one is needed for a specially constructed vehicle but for our own piece of mind decided to install one. The grille is stock sheet metal but the hood is fiberglass. So mounting the latch was no problem but getting it to hold down the hood was entirely a different matter. The glassed in cross support is higher than the steel hood, therefor the latch was not long enough. Also just cutting a hole in the support would not be strong enough, and the fiberglass would eventually rip out, defeating the
whole purpose. Started out by marking on the support where the latch contacted it and cut a slot. Another slot was cut into the backside of the support to slide in a piece of 3/16 thick metal, also with a matching slot for the latch to reinforce the fiberglass acting as a backup plate. A tab was tack welded to this piece for holding purposes. Holes were drilled to pop rivet the piece to the inside, then a stainless steel sheet metal piece was fabricated to finish off the outside which then was drilled for four button head cap screws. Those holes were marked on the fiberglass then drilled through the fiberglass and the backing plate and tapped for the screws. The latch itself had to be lengthened by cutting
 and welding in a piece of same thickness. The top of the latch had to be trimmed for clearance and the hook modified through trial and error. It took alot of trial and error. When everything was working properly the tacked on tab was broke off and the back slot will then be fiberglassed shut.