Well, we are starting to make some HEADway on the 401. While the heads were off and the cam removed we decided to check valve specs considering what else we found with a reported 7000 mile engine and also we wanted to install new valve seals. Glad we did. Everything was disassembled and kept in precise order so all parts could be put back together the way it came apart. Both were degreased, decarboned and pressure washed after removal of the freeze plugs. Intake valves looked pretty good, but was not happy with the exhaust valves. Tried just lapping them in but still did not get rid of the small cratering on the valves. The seats in the head looked pretty good. But it was clear the valves needed to be cut. I made a call to a guy that had a valve grinding machine only to find he got rid of it, and of course us being on a college budget didn't want to pay for the job. It just so happens the valve stem diameter is 3/8" and I had a 3/8 collet for my Van Norman milling machine and a carbide lathe tool. Checking the book revealed 30 degs. on the intake and 44 1/2 degs. on the exhaust. Tilting the head to the specified angle and chucking the lathe tool in a vise I was able to cut the valves. Only had to remove about .005. Run out was checked before and after and they were within .001. They were then lapped in using an old obsolete Zim Manufacturing valve lapper and Permatex #80036 (34A) valve grinding compound.


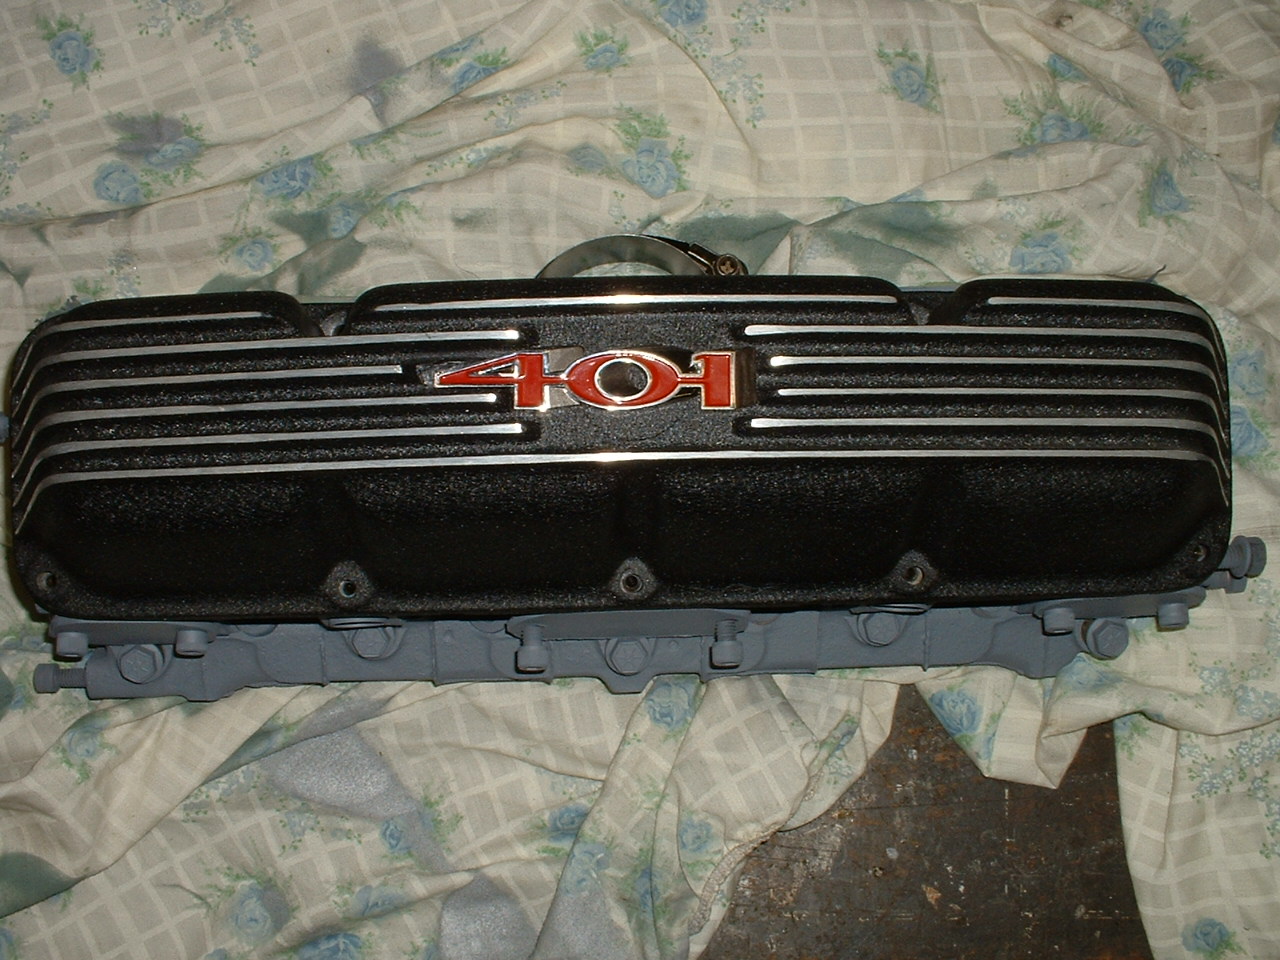
 We then milled the one fin on the valve cover to accommodate the 401 emblems which fit perfectly and is highlighted by the black wrinkle paint of the valve covers. Here are some sneak picks of the mocked up engine with the powdercoated Edelbrock intake and aluminum pulleys. Next will be a cam choice. Jeffrey is looking into Lunati for now, so we'll see.


Side clearance was then checked on the valve stems using a dial indicator and magnetic base which showed to be approaching top of the tolerance. Since it was still in tolerance we left them go. The heads seemed to be the weak aspect of this engine. I don't think too much time was spent on the original build, definitively more than 7000 miles worth of wear. Probably in the future we will keep an eye out for a good set of rebuildable heads. we'll see after we shake this one down. New steel freeze plugs were installed using Permatex item #80016(2B) form-gasket sealant, then primed with Rust-oleum high heat primer 2000 deg. (249340) and then painted with Rust-oleum flat aluminum 2000 deg. (248904). The gasket set that we had picked up on the cheap turned out to be for a 304 which has different head gaskets, so new ones were obtained for the 401 and the metal side sprayed with Permatex Copper Spray-a-gasket item #80697 and torqued down to 80 ft/lbs then again at 110 ft/lbs.


posted by jarcher401 at 5:55 PM
![]()


0 Comments:
Post a Comment
<< Home